Events on Markit
Create, host, organize, and scale your events directly through Markit.
Creating an Event
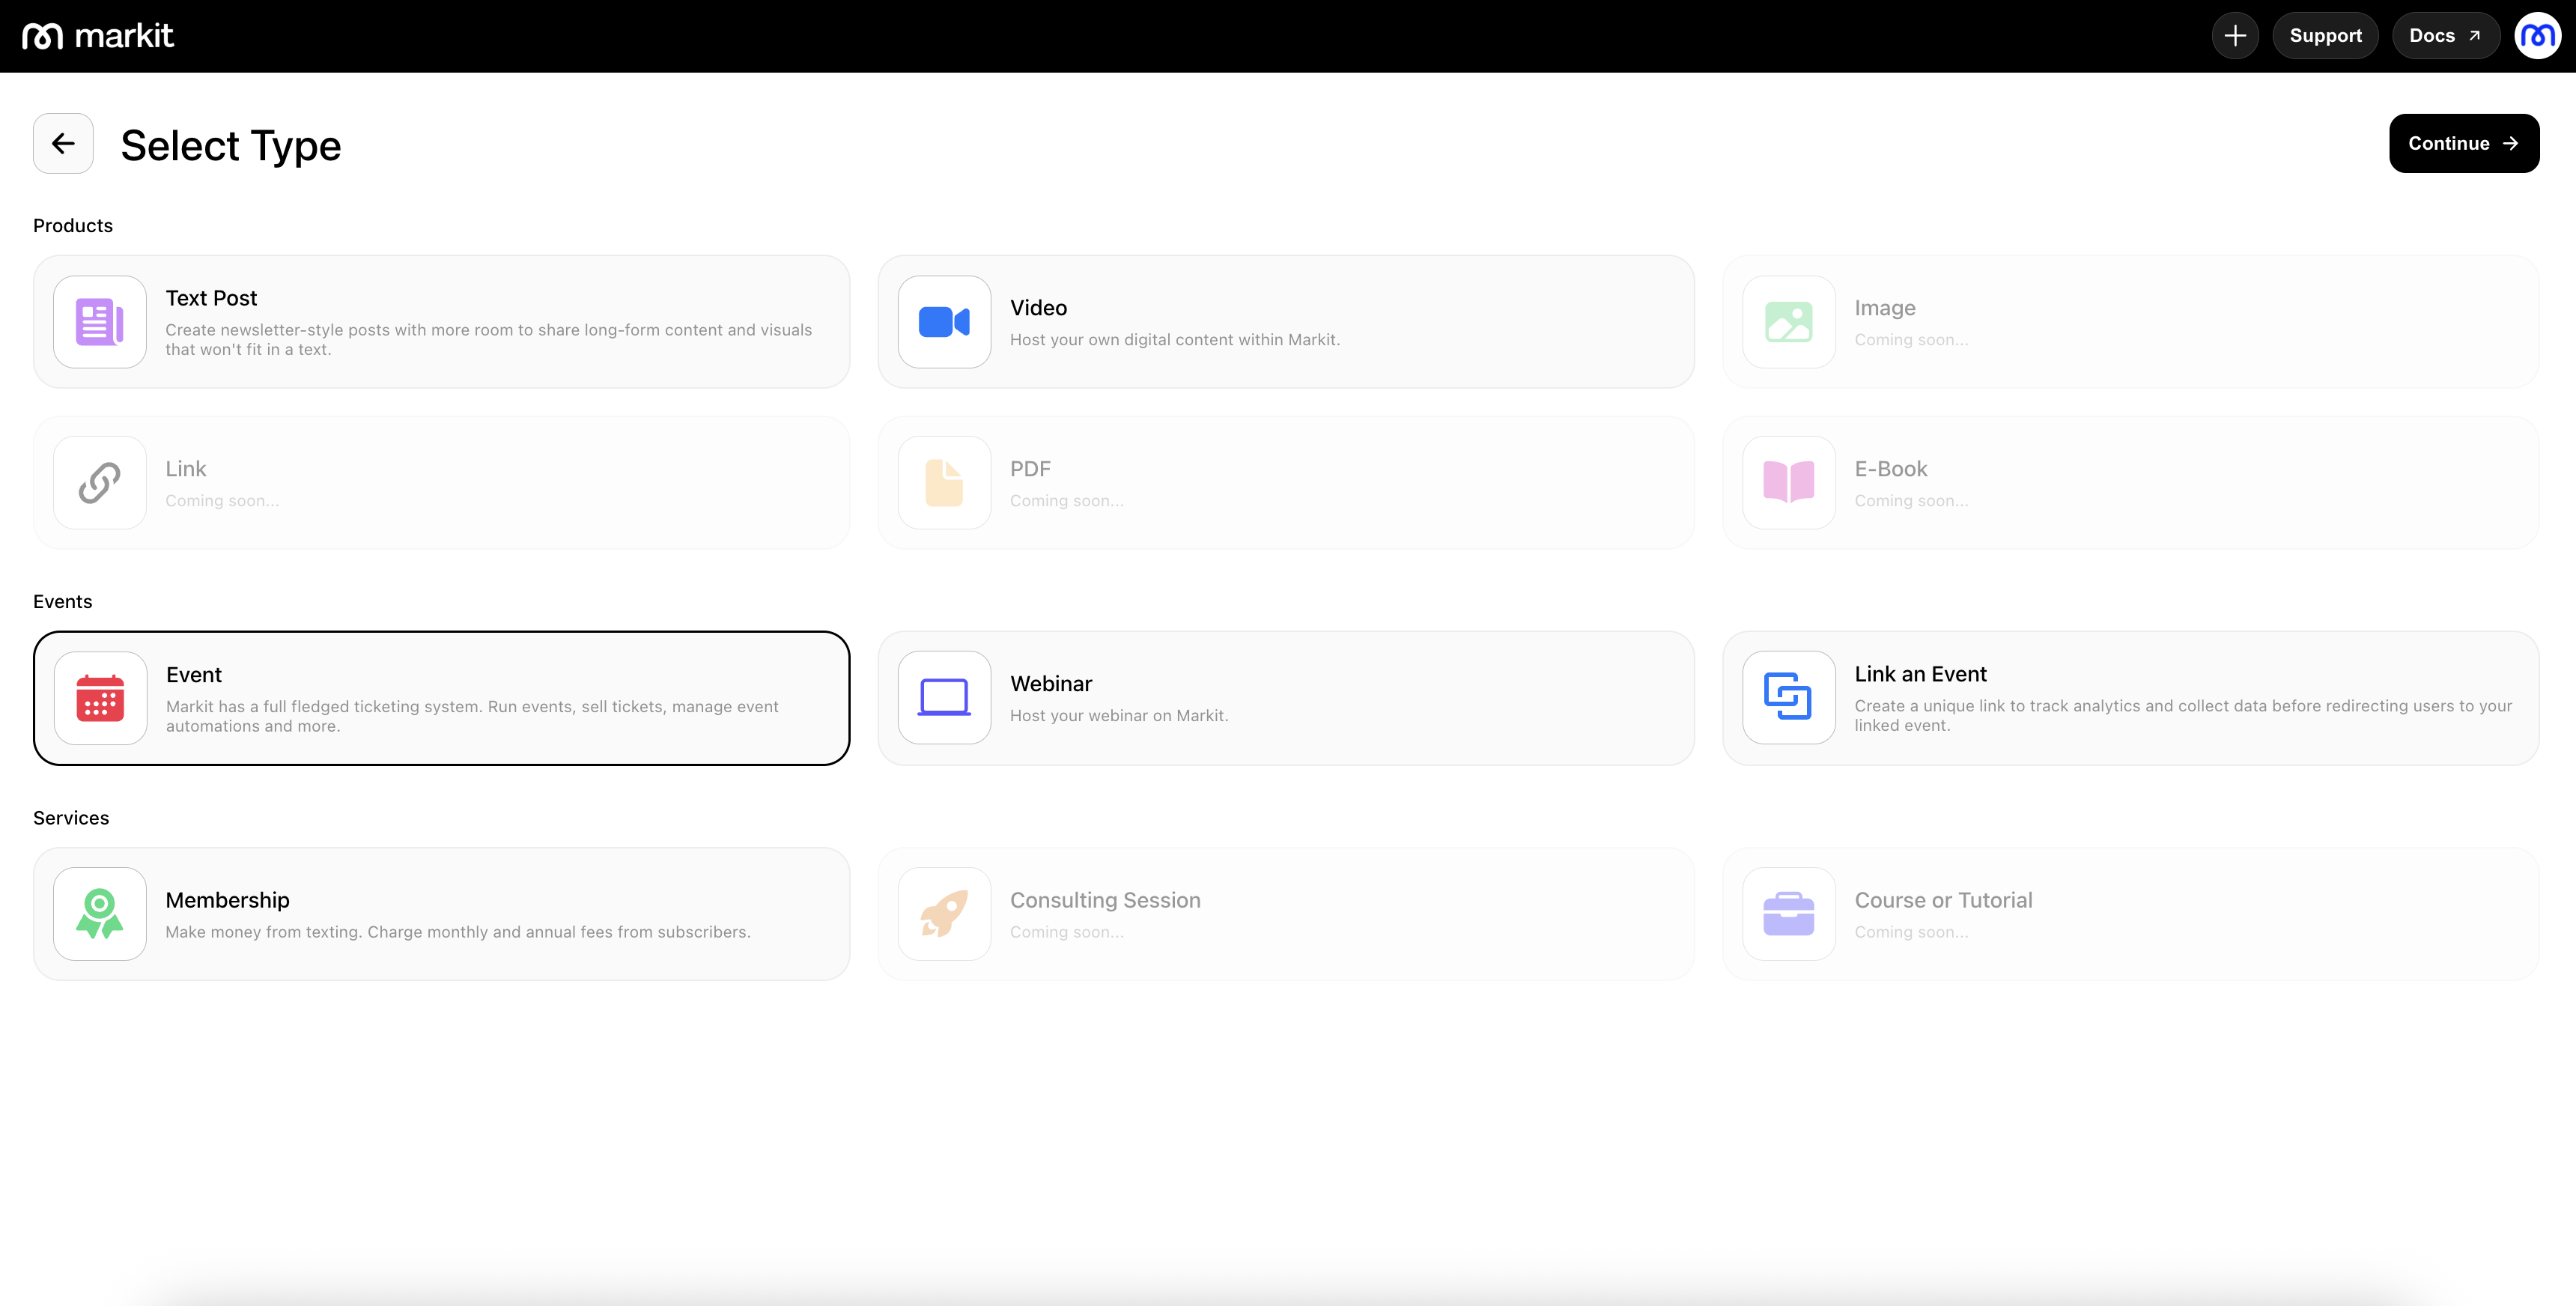
You can create events directly from the Products tab in the Monetize section on desktop. This allows you to start building out an event without needing to navigate through multiple menus.
After selecting this option, you’ll be able to enter all of your event details on the event details screen. Here, you can customize your cover photo, title, and description, add different ticket types, include required questions in the ticketing flow, and configure additional event settings.
Once your event is created, you can manage your guestlist, view analytics, and access more advanced tools from the event dashboard. This centralizes everything you need to run your event smoothly.
Paid Ticketed Events
Markit offers extensive ticketing features that match industry standards set by platforms like Luma, Eventbrite, Posh, Partiful, or Dice. This ensures that creators have access to the same high-level capabilities without needing third-party tools.
You can create new ticket types at any time directly from the event details screen or from within the event dashboard. This flexibility allows you to adjust your ticketing strategy as demand evolves.
Additional Event Features
Paid Tickets
You can create and manage paid ticket types, giving you full control over pricing and availability.
Ticket Descriptions
Each ticket type can include a detailed description so attendees understand what they’re purchasing.
Request Ticket Type (Require Approval)
You can set up ticket types that require manual approval, which is ideal for private events or curated access.
Setting Capacity
Each ticket type allows you to set a capacity limit to avoid overbooking and maintain a controlled event size.
Min/max Per Person
You can configure minimum and maximum purchase limits per attendee to better manage turnout and distribution.
Hiding Ticket Types
Ticket types can be hidden from public view, enabling you to release them only when you’re ready or make them accessible via private links.
Adding Custom Event Questions
Custom Data Questions
You can add custom questions to collect specific information from attendees during checkout, ensuring you gather everything you need before the event.
Attendees are presented with these questions directly during the ticket purchase flow, ensuring the process feels seamless and integrated.
Collect analytics and view on the dashboard
All responses collected from custom questions are automatically organized and displayed on your event dashboard, making it easy to analyze attendee data.
Events Dashboard
The events dashboard is where you manage every aspect of your event. You can check in guests, manage your guestlist, add or remove organizers, and access a variety of tools that help you run your event efficiently.
Event Organizers
Revenue-sharing co-hosts and promoters: Organizers can add co-hosts and promoters with custom revenue-sharing settings, complete with unique tracking links and promoter links for transparent and automated payments.
Event Text Automations
You can manage all of your event text automations, including automated messages tied to your event description. This allows you to keep attendees informed without manually sending messages.
Manage Form Responses
From the dashboard, you can also manage and collect form responses for any custom questions, all consolidated in one place for easy review.
You’re able to create ticket promo codes to run discounts or special campaigns, helping drive ticket sales and engagement.
Additional Options
Cloning events: You can duplicate an entire event with a single click, making it easy to re-run recurring events without rebuilding everything from scratch.
Pausing ticket sales: With one button press, you can temporarily pause ticket sales, giving you full control over your event availability.
Deleting events: You can fully delete an event from the settings tab if it is no longer needed or was created in error.